Getting Started
We strongly advise against creating new Mattermost teams.
Mattermost Helmholtz Cloud service will be discontinued in mid-July 2026.
We plan to offer Helmholtz Matrix from April 2026. Read more:
The Helmholtz Mattermost Service can be used free-of-charge by anybody within Helmholtz and their partners. It is hosted by HIFIS Software entirely on HZDR servers, jointly created by UFZ and HZDR . With the general availability of the Helmholtz Cloud, the service will be available as a fully integrated Helmholtz Cloud Service and will follow the given regulations.
Report Abuse
Mattermost is a communication and collaboration platform for anyone within Helmholtz. All users are encouraged to follow common communication rules and a Netiquette. In short, let’s all be kind to each other.
If you feel that people abuse this service or do not follow a Netiquette you can report this by writing us an email to support@hifis.net.
Sign-Up
Signing-in into the Helmholtz chat platform is done via the Helmholtz Codebase Service. There are multiple options to sign-in.
How to log in via Helmholtz AAI?
Please read the following how-to explaining by example all necessary steps to log in into a HIFIS service via Helmholtz AAI. There is also further documentation available that covers the technical parts of how to log in with Helmholtz AAI.
Why do I need to sign-in via GitLab?
Mattermost cannot directly be connected to the Helmholtz AAI, instead it uses the Helmholtz AAI connection functionality of the Helmholtz Codebase Service as a so-called infrastructure proxy (see corresponding documentation for more details).
Troubleshooting: Mobile App Certificate Issues
If you experience connection issues when using the Mattermost mobile app (e.g., “Unable to connect to server” errors or error messages such as “The certificate for this server is invalid”), you may need to install the required root certificate on your smartphone.
Installing the HARICA TLS RSA Root CA 2021 Certificate
Follow these steps to install the certificate on your mobile device:
Step 1: Download the Certificate
- Open your smartphone’s web browser
- Navigate to https://repo.harica.gr/certs/HARICA-TLS-Root-2021-RSA.pem
- Download the certificate file to your device
Step 2: Install the Certificate
- Open your smartphone’s Settings app
- Use the search field to search for “certificate”
- Look for an entry like “Install certificate from local storage” or “Install from device storage”
- On Android: Usually found under “Security” → “Encryption & credentials” → “Install a certificate”
- Tap the entry to begin the installation process
Step 3: Complete the Installation
- Select the downloaded HARICA TLS RSA Root CA 2021 certificate file
- Follow the on-screen prompts to complete the installation
- You may need to confirm the installation with your device PIN or biometric authentication
- Restart the Mattermost mobile app
After completing these steps, the mobile app should be able to connect to the Mattermost server successfully.
Certificate Security
Only install certificates that you trust and have verified. The HARICA TLS RSA Root CA 2021 is a legitimate root certificate authority used for secure HTTPS connections.
Changing Name and Email
In case your name and email address changed this needs to be corrected in the Helmholtz Codebase Service and not in the Helmholtz Mattermost Service itself. In order to make these changes, you need to open your profile via the Edit profile-button in GitLab and adapt your name and email address. These changes will be propagated to Mattermost automatically afterwards.
Why do I need to change specific attributes via GitLab?
Specific user attribute changes can not be made within Mattermost. For changes of first name, last name, username and email address GitLab is the authoritative source for these user attributes. This is because GitLab Single Sign-On (SSO) is configured as the only authentication method in Mattermost.
User Roles and Permissions
Mattermost offers a couple of user roles depending on the context the user is currently in. In addition to the usual default role Member, users can be Team Admins, for example.
Team Admins and Enabling Bot Notifications
Users who create teams are immediately assigned as a Team Admin. Duties and permissions associate with this role is described in the Getting Started Guide for Team Admins.
Since you as a Team Admin are responsible for managing all your team members, you also need to add bots to your team so that bots can send notifications to your team members. Please read the respective section in the Team Admins Guide to get to know more about bots available to you.
First Steps
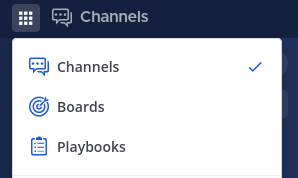
Global Navigation Menu
Mattermost offers a navigation menu in the top left corner to select the Mattermost channels, boards or playbooks.
Enter Teams and Channels
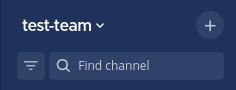
First things you might want to do is to assign yourself to a team and channels belonging to that team. Enter a team by invitation of the team admin or by browsing public teams via the plus-button in the teams side-bar on the left-hand side.

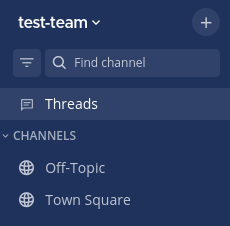
Once you are member of a team you are assigned to channels Town Square and Off-Topic.

You can browse all other public channels and enter them via the plus-button above to the channel search field in the channel side-bar on the left-hand side.
Create a Team
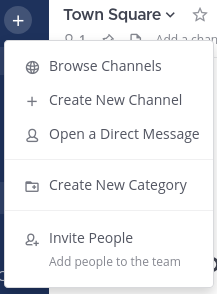
Of course, you can also create new teams by pressing the plus-button of the teams side-bar.
Create a Channel
In order to create new channels you can press the plus-button of the channels side-bar.

Invite Members
Once the team and channels are set up you can add members to your team and channels.
Mentions
Inside your channels you can refer to other users by the mentions feature when writing messages. Possible mentions are:
- @username: to address a single member,
- @channel and @all: to address all members in the channel,
- @here: to address all online members in the channel.
Pin Messages
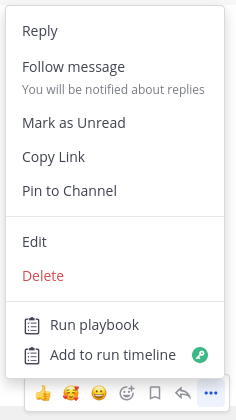
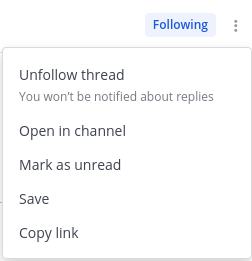
Sometimes it is convenient to pin a messages if it is of relevance very often and need to be looked up often. In Mattermost you can pin messages by clicking the More actions-button of a message and choose Pin to Channel.
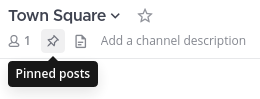
These pinned messages can be inspected by clicking the Pinned posts-button below the channel name at the top.
Save Posts
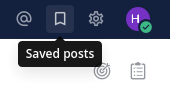
It is also possible to save messages by pressing the Save-button of a message.

It is then added to your list of Saved posts which you can inspect by clicking the Saved posts-button in the top-right corner.
Sharing Messages
In order to share messages with other users you may enter the More actions-drop-down and select Copy Link.
The resulting URL in the clipboard may then be distributed among other users.
Important Features
It is worth mentioning and introducing the following Mattermost features:
- Collapsed Reply Threads,
- Boards,
- Playbooks.
Collapsed Reply Threads
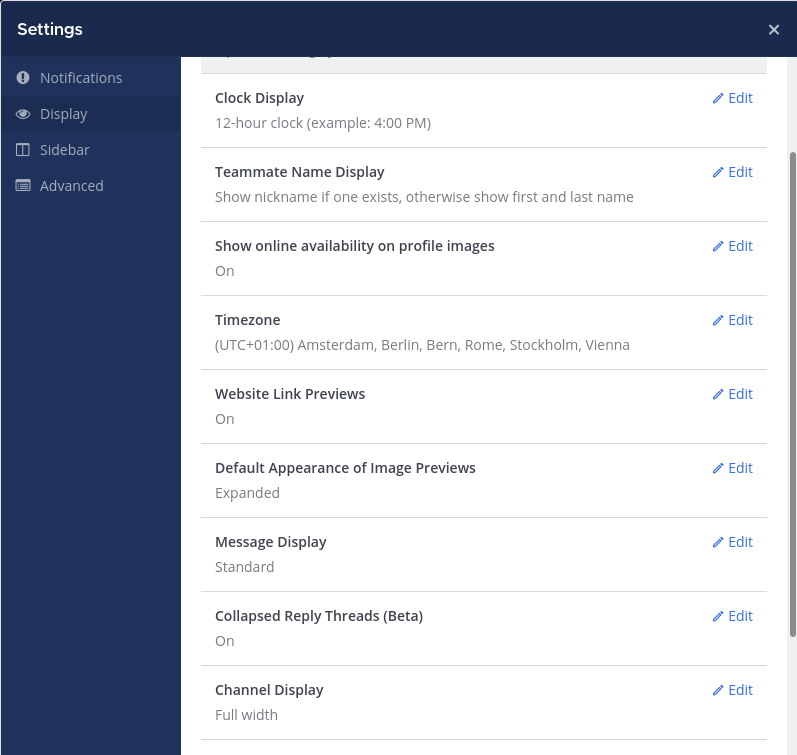
Collapsed Reply Threads need to be enabled by each user separately. The feature toggle button can be found in the Display sub-menu of the Settings menu that can be found in the top-right corner.
Usually, you may hit the Reply-button next to the message when answering to a message. By doing so, a discussion thread panel opens on the right-hand side displaying the whole conversation thread. The usual list of messages in the central main panel is then collapsed only showing the original post and the reply count. An additional side-bar entry Threads will be displayed in the left channels side-bar which opens a view in which all your threads are listed and can be displayed.
You may want to follow messages and threads so that you get notifications on any activity. Use the toggle-button Follow/Following to subscribe ot/unsubscribe from these notifications.
Mattermost Boards
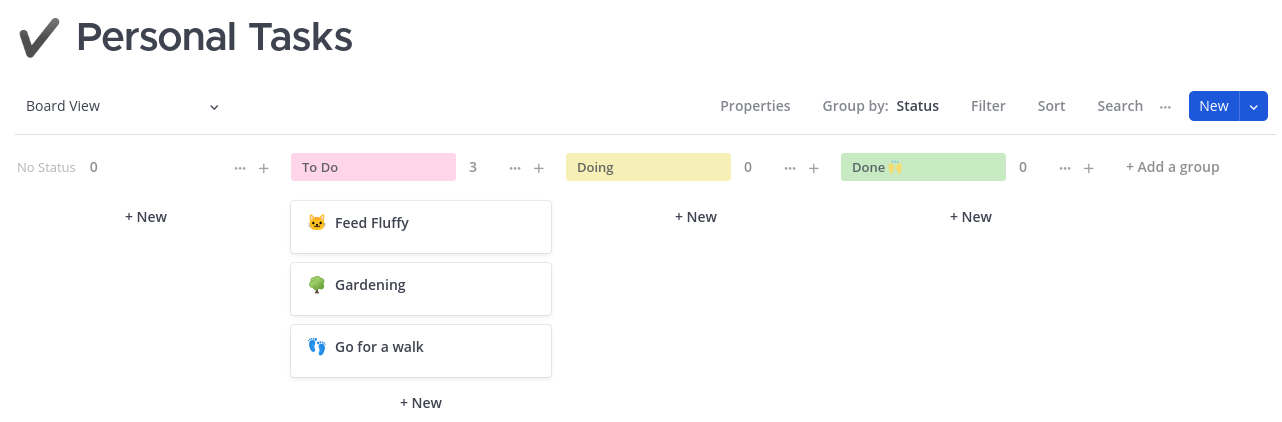
Another brand-new Mattermost feature is the Kanban boards feature to organise and manage tasks as well as processes and workflows. Each channel may have multiple boards and each board is a collection of cards describing tasks that need to go through a specific workflow displayed as a series of columns/groups on the boards, e.g. ToDo, Doing, Done.
How do you use Mattermost Boards in your daily work?
Please give us feedback on your use-cases and how you use Mattermost Boards in your daily work. Feel free to write us an email to support@hifis.net and tell us more about it.
Board View
The boards view is a table-like structure with groups as columns and cards as rows. You can move the cards around between groups which changes also the status of the card referring to the group name it is currently assigned to.
Working with Boards and Cards
In this section we describe how to add boards, groups, cards, properties and comments (please read the Mattermost documentation for more detailed information on how to work with boards and how to work with cards.
In order to add these items you can use the plus-buttons displayed at the respective positions in the boards view. Boards can be added by clicking the plus-button in the boards side-bar on the left-hand side when a particular channel has been chosen beforehand.

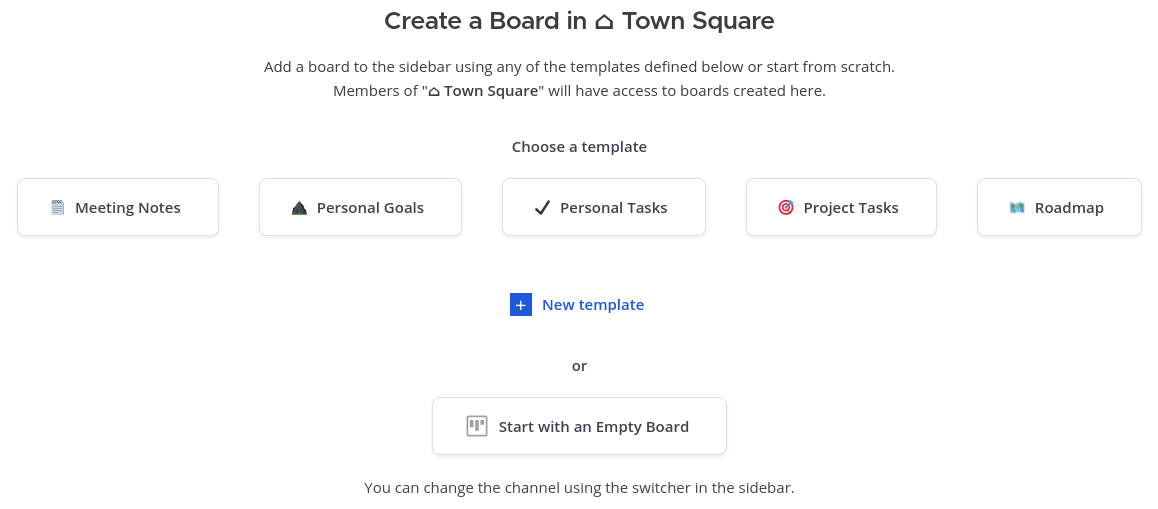
The dialog to create boards lets us select templates or create boards from scratch.
The first column is reserved for cards with no status. New groups representing the status of the cards can be added by clicking the Add a group-button next to the last group on the board.

After having defined groups we are ready to add cards to the board by clicking the New-button at the bottom of each group.
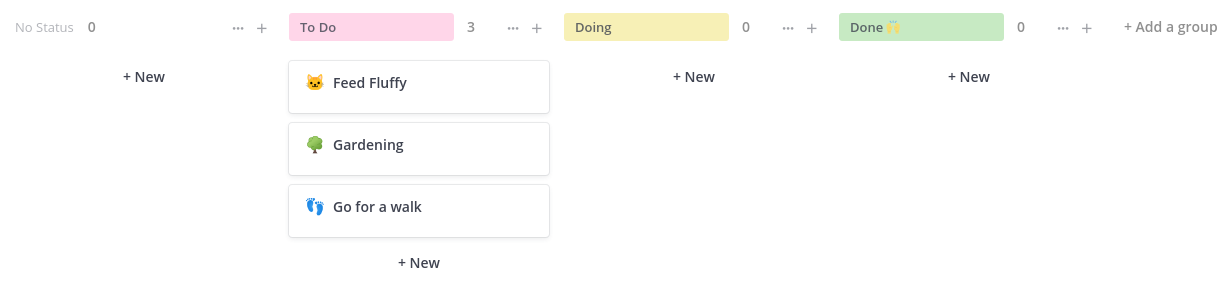
Now, cards can be moved around between groups and the status will be adapted accordingly.
Properties of a card hold information specific to a particular card like effort estimations. They can be added by clicking the respective Add a property-button in the edit-card view.
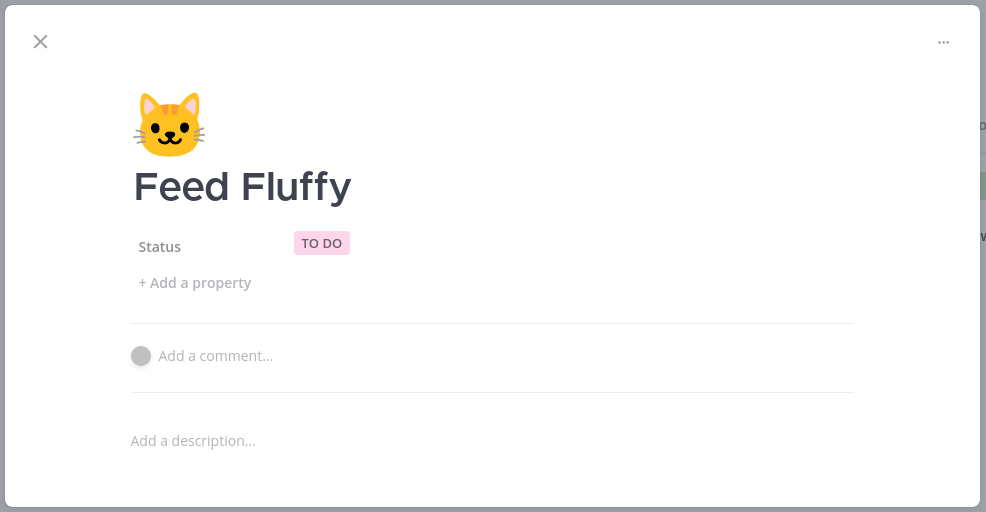
Another feature that can be found in the edit-card view is the comments feature. Comments have an owner, a creation date and time as well as a message. With comments you can keep track of comments each channel member made during handling the respective cards on a particular board.
Board and Card Templates
Instead of creating boards and cards from scratch you can customize board and card templates.
There are a couple of pre-defined board templates, e.g.:
- Meeting Notes,
- Personal Goals,
- Personal Tasks,
- Project Tasks,
- Roadmap.
The available templates are listed when creating new boards.
To create a new card template you can click the New template-button in the drop-down menu at the top-right of the board.

The card edit dialog is all empty at first.

After editing, a button for each card template is displayed in the same drop-down menu on the top-right of the board.
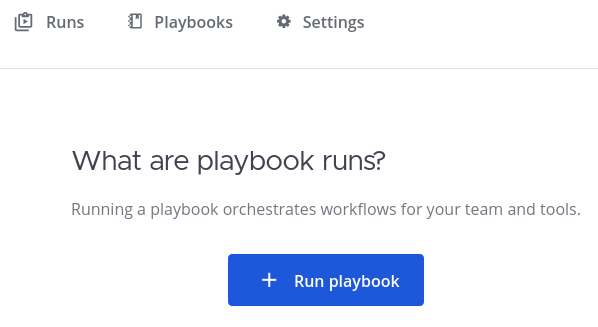
Mattermost Playbooks
Mattermost Playbooks offer a way to configure re-usable checklists for repeatable, recurring workflows and processes for each team.
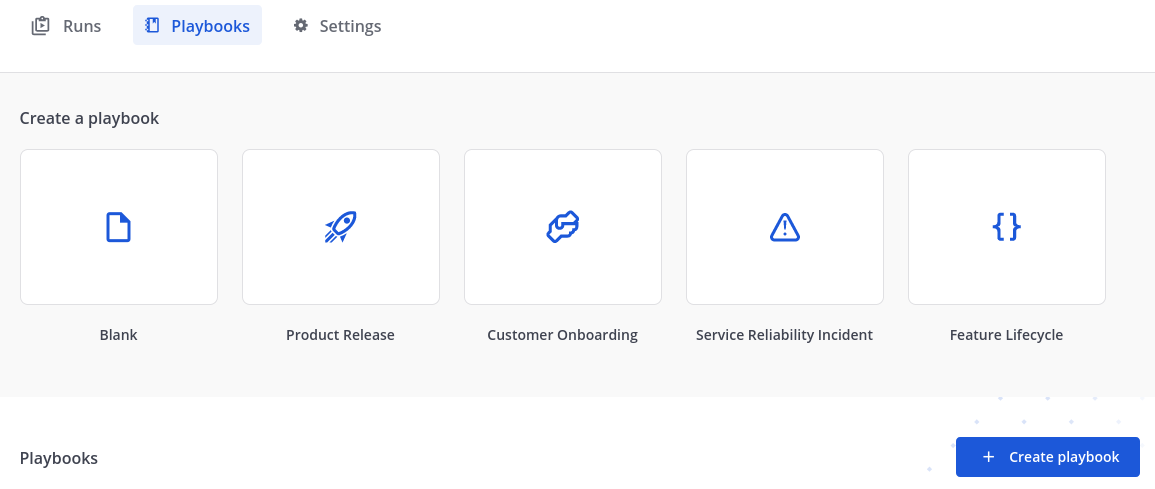
Playbooks can be created from pre-built playbooks as well as from scratch. Pre-build playbooks are the following:
- Product Release,
- Customer Onboarding,
- Service Reliability Incident,
- Feature Lifecycle.
Playbooks are started by running them.

Playbook runs are then listed in the Runs view. When running a playbook a private channel is created in the respective team.
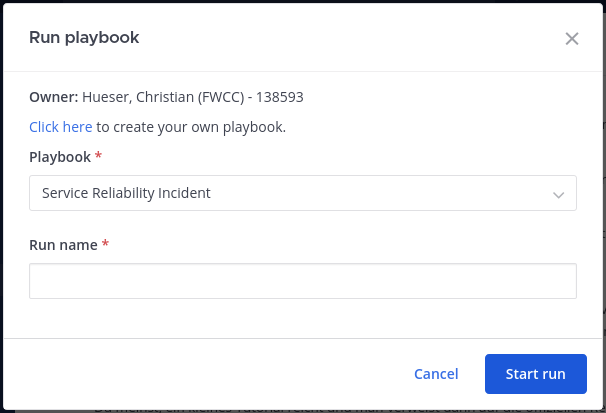
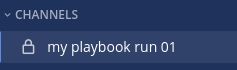
The private channel is named according to the run name chosen when running the playbook.
This channel is then populated with basic information about the playbook run.
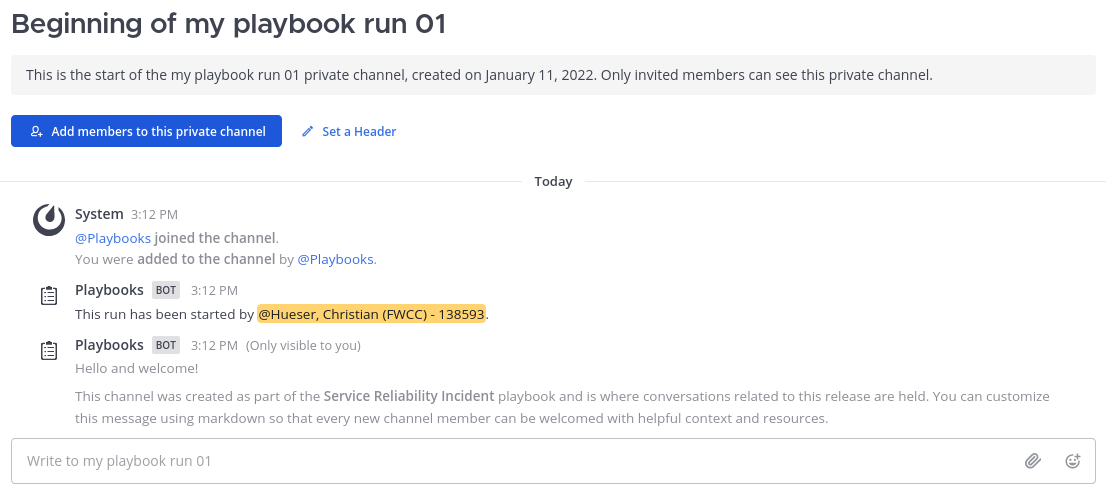
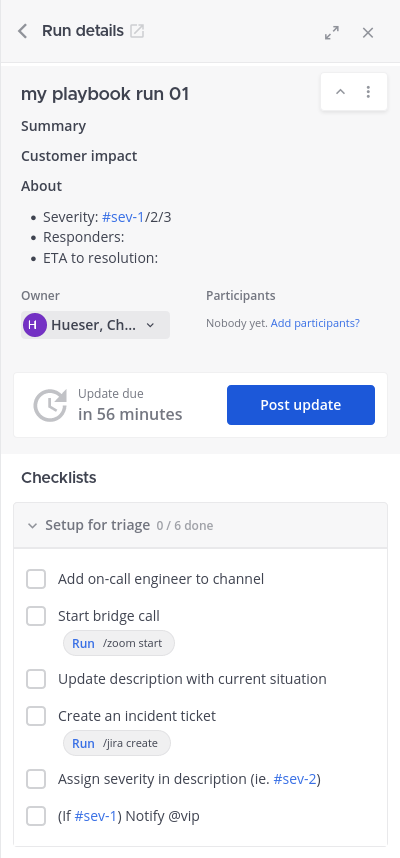
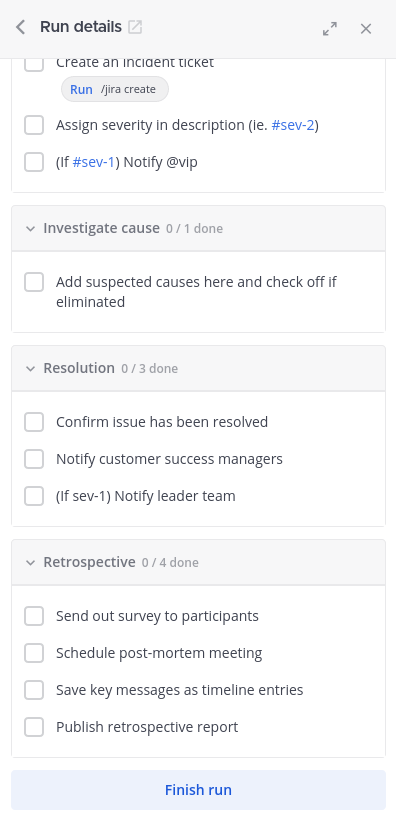
In the run details of this respective team channel additional members can be assigned to the playbook run as well as to individual tasks, tasks can be checked as done, status update messages can be posted manually, and slash commands can be triggered manually.
Finally, a playbook run can be marked as finished by clicking Finish run.
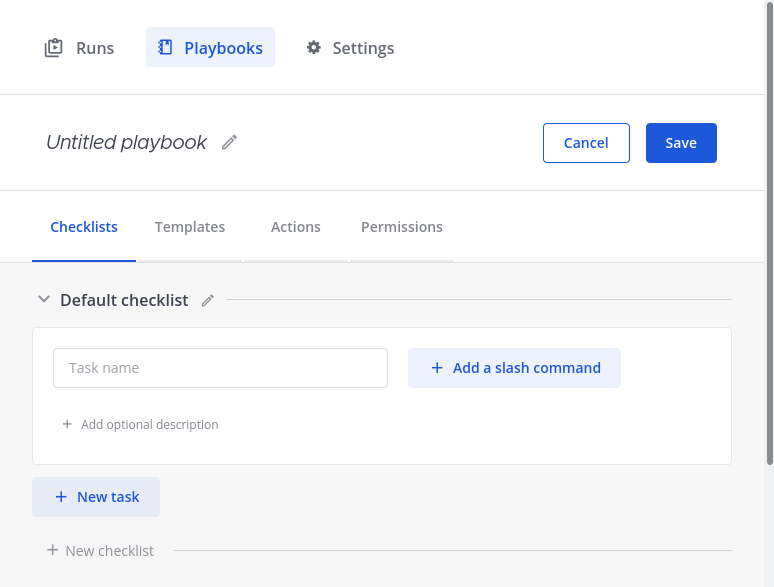
Create Playbook
In the Playbooks view you find templates to be used for a new playbook. After choosing one you need to select the team for which you would like to create a new playbook.
Checklists
Since playbooks are essentially checklists with powerful extra features, the main functionality is to define checklists with tasks that need to be worked through by assigned members. If slash commands are added to tasks they can be triggered manually during a playbook run in the team channel created for a playbook run.
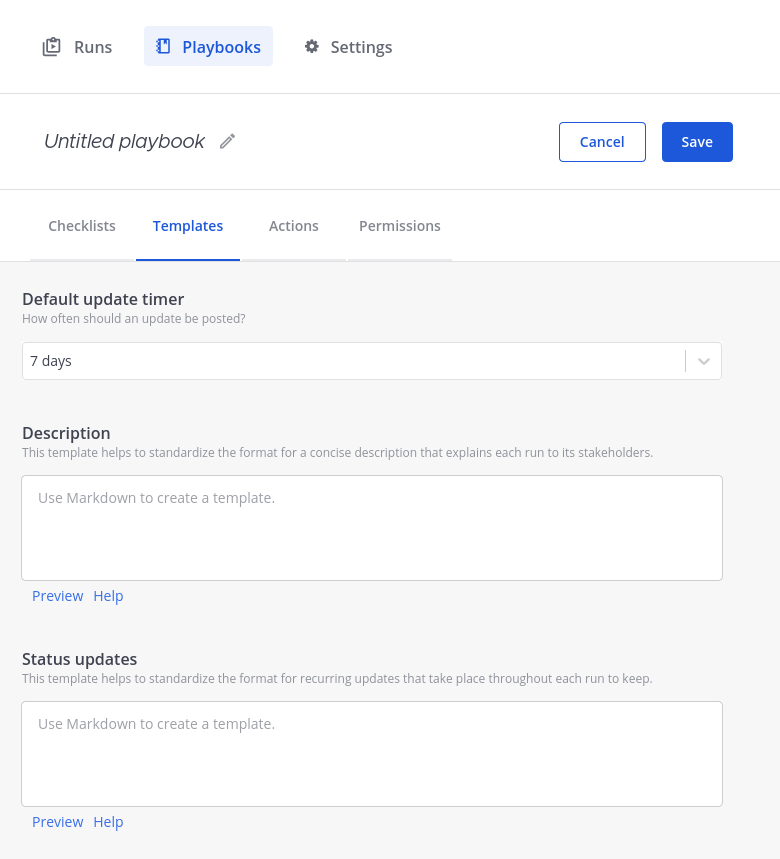
Templates
Templates in the Templates tab in the Playbooks view are text blocks that are either displayed when running a playbook or when a status update is posted in the channel of the playbook run. The status update posts can be timed with an update timer. This time lets you choose the interval in which you will be reminded to post an additional status update message.
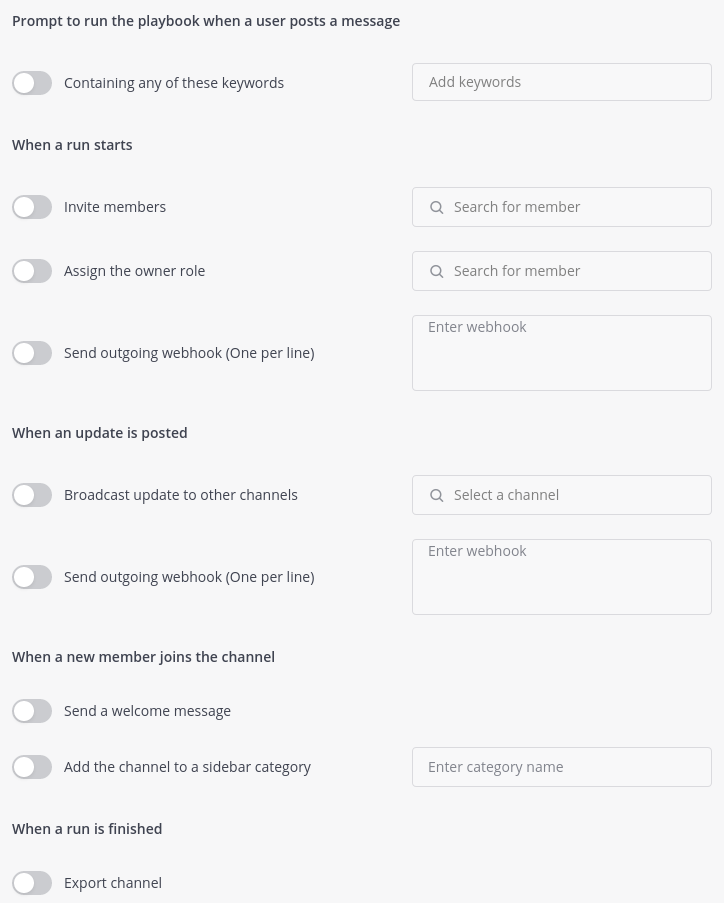
Actions
The Actions tab in the Playbooks view can be used to automate actions like:
- Prompting to run the playbook when a user posts a message containing specific keywords,
- inviting members to the channel,
- assigning the run owner role to a member,
- broadcasting status update posts to other channels,
- sending a welcome message to new channel members,
- adding a channel to a sidebar category.